What You’ll Need
- Loops & Threads Macramé Cotton Cord
- Mandala Crafts Natural Wooden Rings
- Cousin DIY Assorted Large-Hole Wood Beads
- DuraSteel Ceiling Hook
- Sharp Craft Scissors
- 12 ft Measuring Tape
Step-by-Step Instructions
Step 1: Cut the Cords
Measure out eight cords, each about 12–15 feet long. This length gives you plenty of material for both knots and drop length. If you want your hanger extra long, cut even more.
Step 2: Attach to the Ring
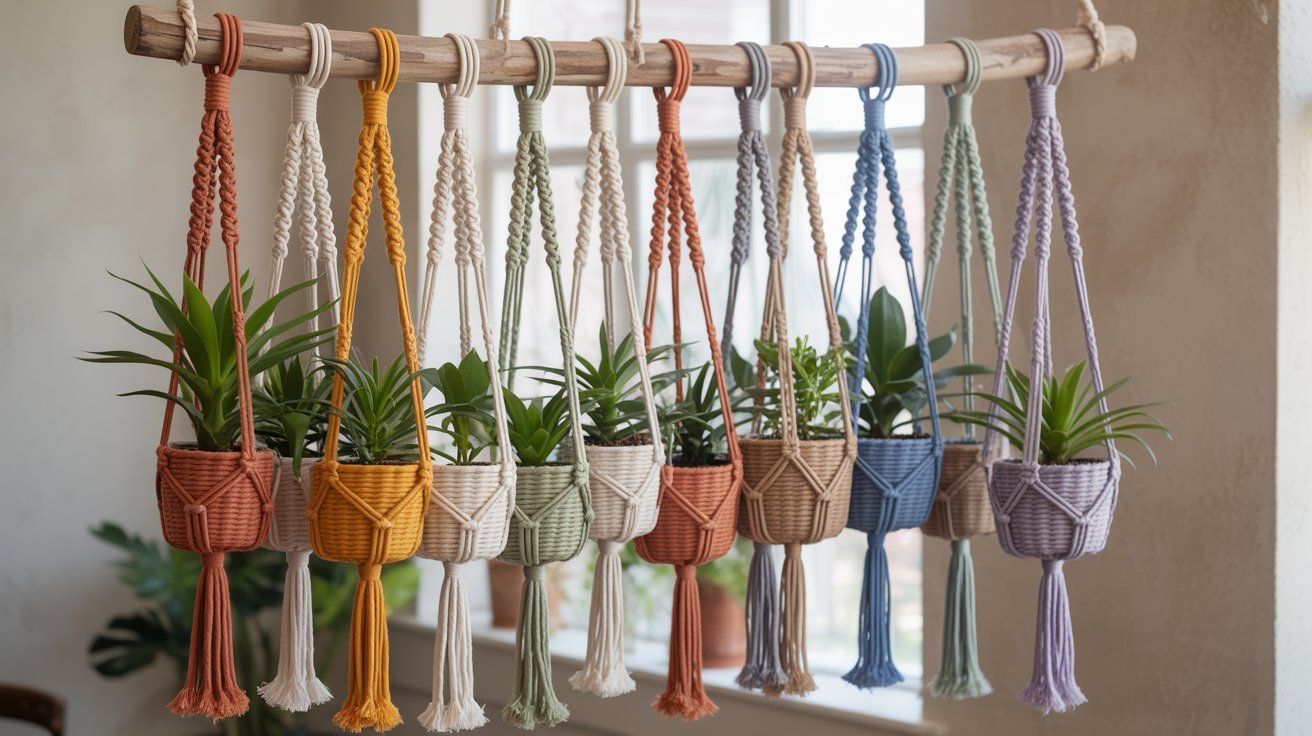
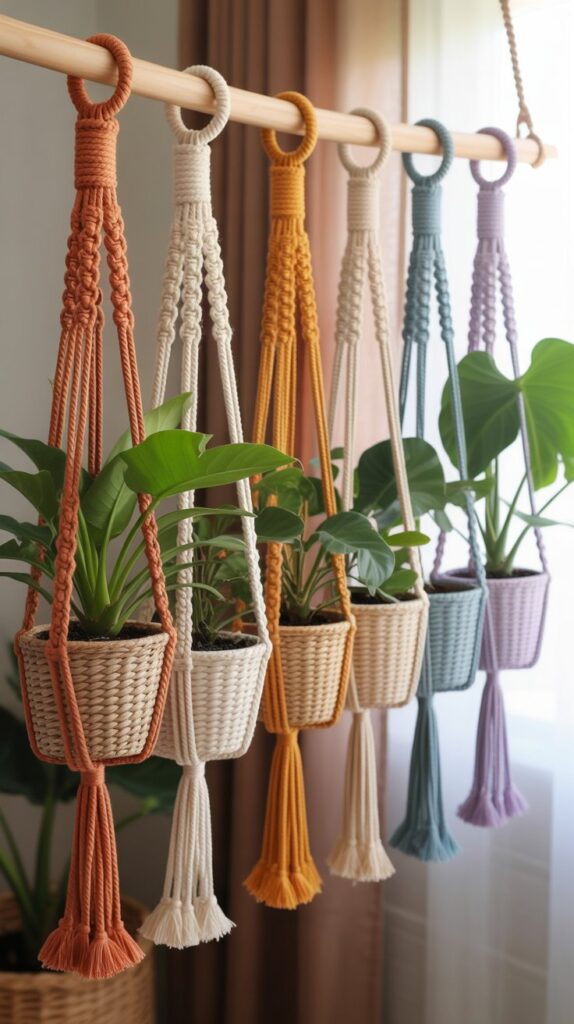
Fold each cord in half. Slip the folded loop through the wooden ring, then pull the loose ends through to create a lark’s head knot. Once all cords are attached, you’ll have sixteen strands hanging.
Step 3: Secure with a Gathering Knot
Take a smaller piece of cord (about 18 inches), place it just below the ring, and wrap it tightly around all the strands 5–6 times. Pull the tail through the loop, tighten, and trim. This creates a neat, professional-looking top.
Step 4: Twist into Spirals
Divide your cords into four groups of four. Using each group, tie half-square knots over and over. As you go, the cords will naturally start to twist into a spiral. Make each spiral 6–8 inches long so they’re balanced.
Step 5: Add Beads for Texture
Slide one wooden bead onto the middle two cords of each group and push it up to rest right beneath the spiral. This adds a handcrafted touch and breaks up the rope design.
Step 6: Create Lower Knot Work
Continue below the beads by tying several square knots (about 4–5 inches). This section gives the hanger stability and a decorative finish.
Step 7: Form the Netting
Now, start connecting groups together. Take two cords from one group and two cords from the group next to it and tie a square knot about 3–4 inches down. Repeat around the circle to form diamond openings — this is what holds the plant pot.
Step 8: Tie the Base
When you’ve reached the right height for your pot, gather all cords together and wrap them with another strong gathering knot. This forms the basket’s base.
Step 9: Finish with Fringe
Trim the cord ends evenly, leaving about 4–6 inches. For a boho vibe, comb out the fringe so it’s fluffy; for a cleaner style, leave them as they are.
Step 10: Hang It Up
Place your pot inside the netted section, hook the top ring to your ceiling hook, and adjust the cords so everything hangs evenly. Step back — you just made your own macramé plant hanger!
These hangers are easy to customize. Switch up cord colors, try different bead shapes, or play with knot patterns to match your home’s style. Once you start making them, you’ll want one in every room.
I’d love to see your creations — they’re guaranteed to add a personal, artsy touch to your home.
Disclosure Reminder: This post includes affiliate links. Some products may have been gifted. As an Amazon Associate, I earn from qualifying purchases.